

MCP server
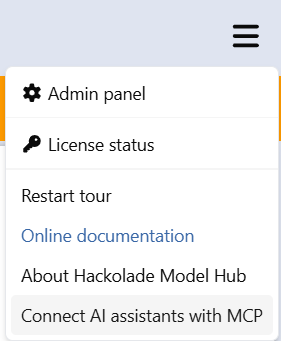
For most AI assistant applications, Instructions for configuring the MCP server are documented in the Hackolade Model Hub application. Users can access these instructions by opening the hamburger menu ☰ , then clicking on Connect AI assistants with MCP
Administrators are still required to perform some configuration when authentication is enabled. There is one exception: Microsoft 365 Copilot's configuration requires a deeper configuration, described below.
Authentication configuration
Note: for the Standalone version, please ignore this section and go directly to the the AI Assistant integration section below.
The same authentication configured to access the Model Hub application can be used to log users in to the MCP server.
To achieve this, a new redirect URL needs to be added to the configured authentication provider. The URL to add depends on the AI assistant application you're targeting.
The following is a list of applications with their redirect URL:
| Assistant | Redirect URL | Notes |
|---|---|---|
| Claude Desktop | https://claude.ai/api/mcp/auth\\_callback | |
| Cursor | cursor://anysphere.cursor-mcp/oauth/callback | |
| VS Code | http://127.0.0.1 | VSCode starts a server on a random port on the host machine to perform the login. |
| Copilot Studio | https://\<model-hub-domain-name>/api/v1/mcp | see infos below |
Note: when configuring these redirect URIs in Azure Entra ID, make sure to add them for the Mobile and desktop applications platform
AI Assistant integration
Besides the Model Hub functionality described in this page,Model Hub provides the ability to connect an AI assistant to your library of data model files via an embedded MCP (Model Context Protocol) server.
Note: each AI assistant chat client uses a different architecture. With the production version of Model Hub, we can easily integrate through APIs. But with the Standalone personal client which runs locally in Electron the integration does not work with all the clients. In particular the test will not work with OpenAI ChatGPT or with Copilot (except is you use Copilot for VS Code, cfr below.)
To get the instructions tailored to the GenAI chat client of your choice, click on the option Connect AI assistants with MCP from the hamburger menu.
Then select the appropriate AI assistant. With Cursor and Copilot for VS Code, you just need to click the button and the configuration will be applied. With Claude, you will need to follow instructions and copy/paste the configuration.
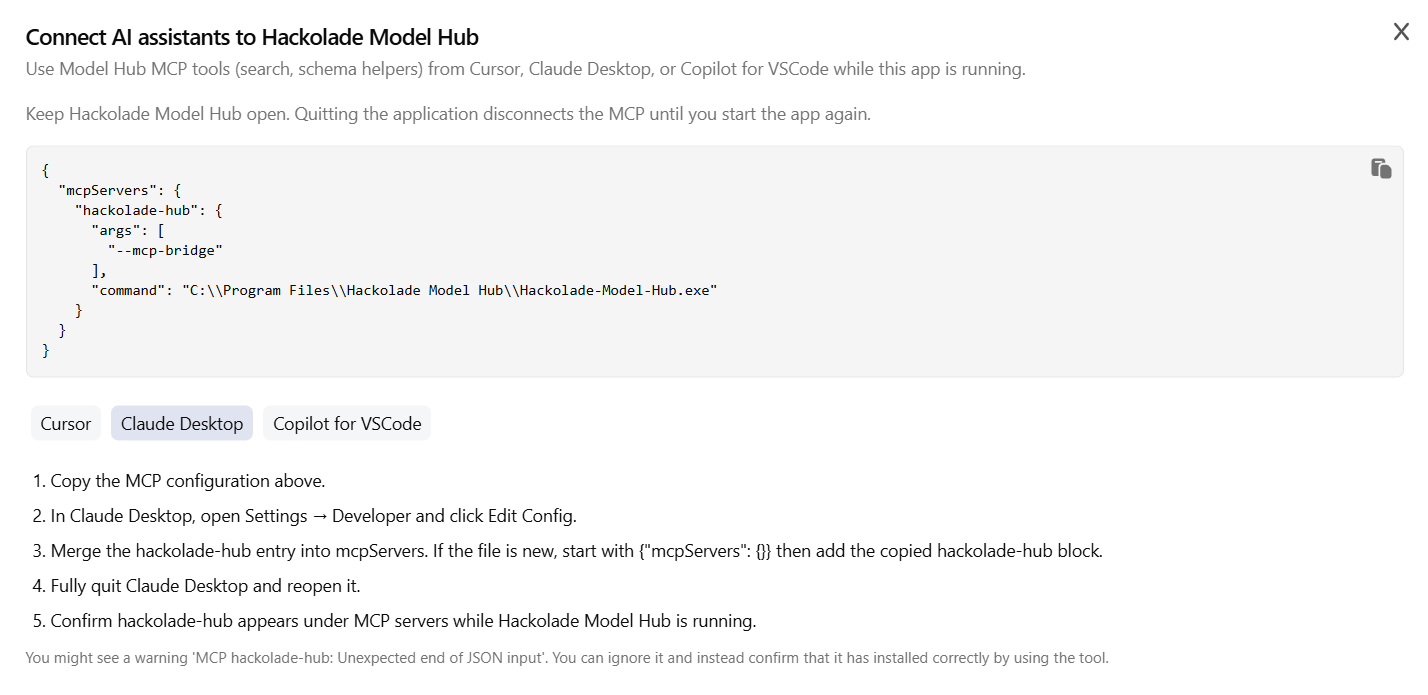
Each AI assistant client has a different way of setting up an MCP server. And you might already have some MCP servers defined.
Follow the on-screen instructions.
Claude
In the Claude chat or code client, go to Settings, then Developer, and click the Edit Config button:
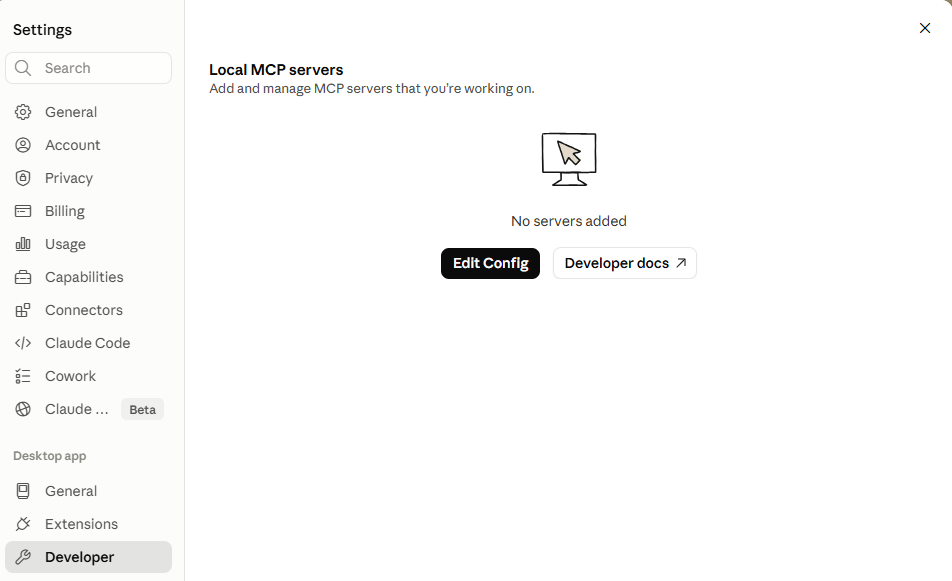
This will open up your OS Explorer/Finder in the correct location. You must edit the file claude_desktop_config.json and insert the appropriate lines copied from the Model Hub dialog above. Make sure to not overwrite or corrupt existing configuration. Make sure that the config is proper JSON.

After saving your edited config file, make sure that the Hackolade Model Hub is running so the MCP server is accessible
Make sure to close Claude and restart it. On Windows, it often happens that closing the Claude client does not actually stop all processes. You may need to go to the Windows Tast Manager and end the Claude task.
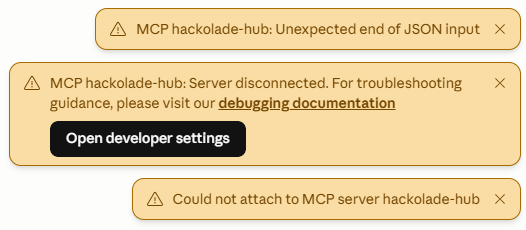
Unfortunately, a bug in Claude give a false error:

You may ignore it and close the message.
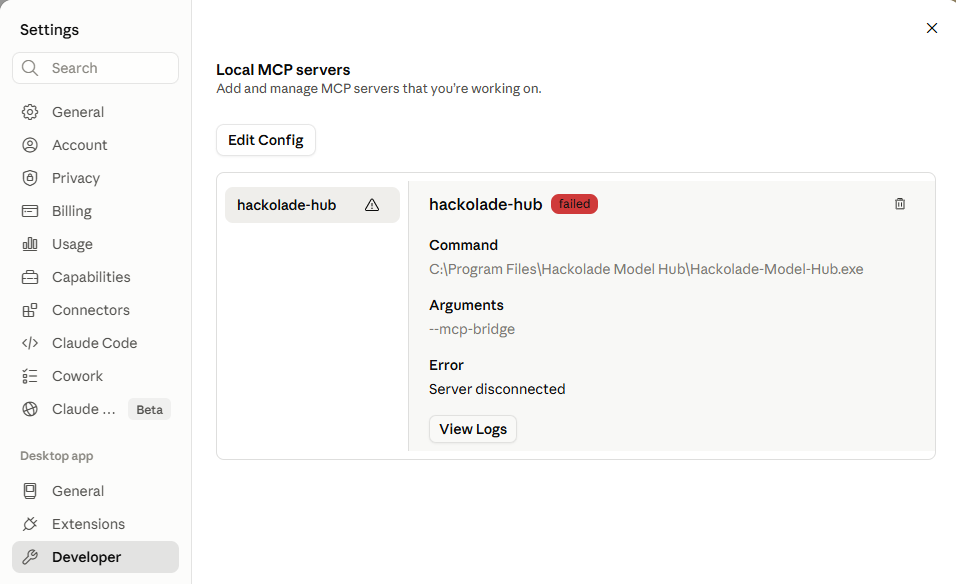
However, if you get these 3 messages, it means that the Model Hub has not been started and hence the MCP server is not accessible...
Copilot in VS Code
Copilot is not a model provider. It is a client product (a coding assistant, or Microsoft's assistant/agent ecosystem) that consumes models from those providers. Microsoft 365 Copilot itself can use models from OAzure OpenAI, OpenAI, and others.
Warning: the Copilot chat client is incompatible with our Model Hub standalone trial MCP server. It does however work just fine with the production version of Model Hub. To test with Copilot, you must use it inside VS Code.
Prerequisite: you must have VS Code installed running on your machine, and the Model Hub must be running.
Click on the button Add to VS Code:
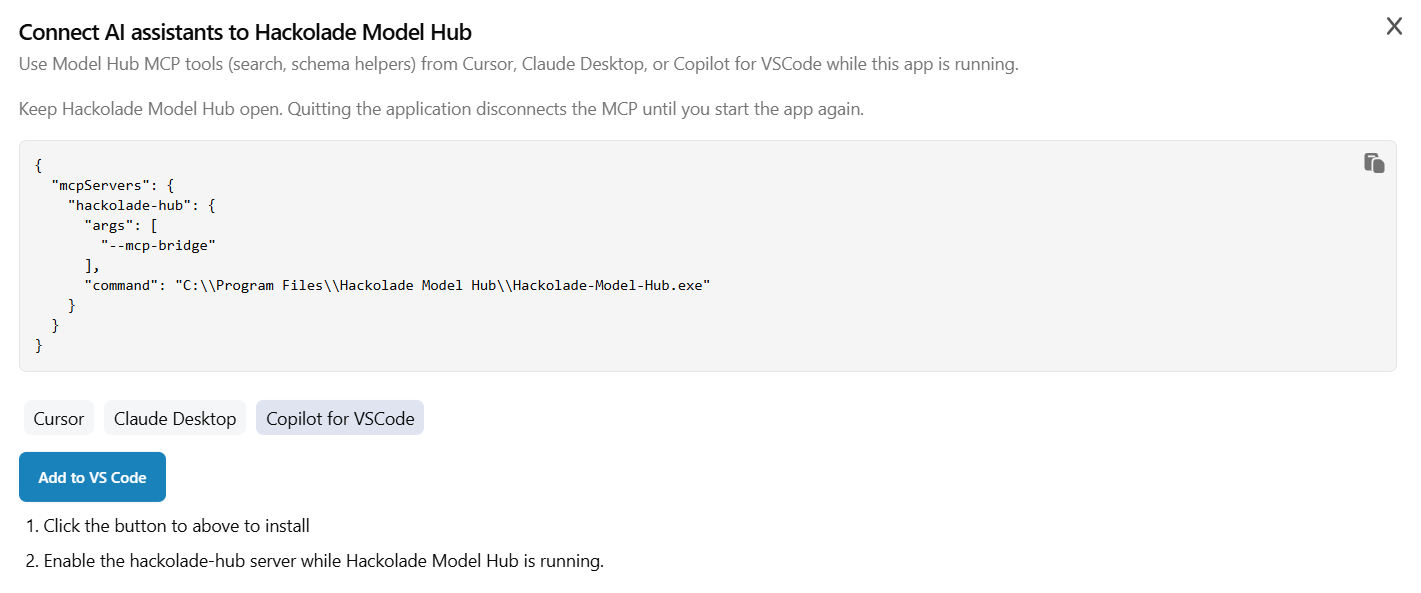
Clicking the button will stgart VS Code and bring you to this screen where you must click the Install button:
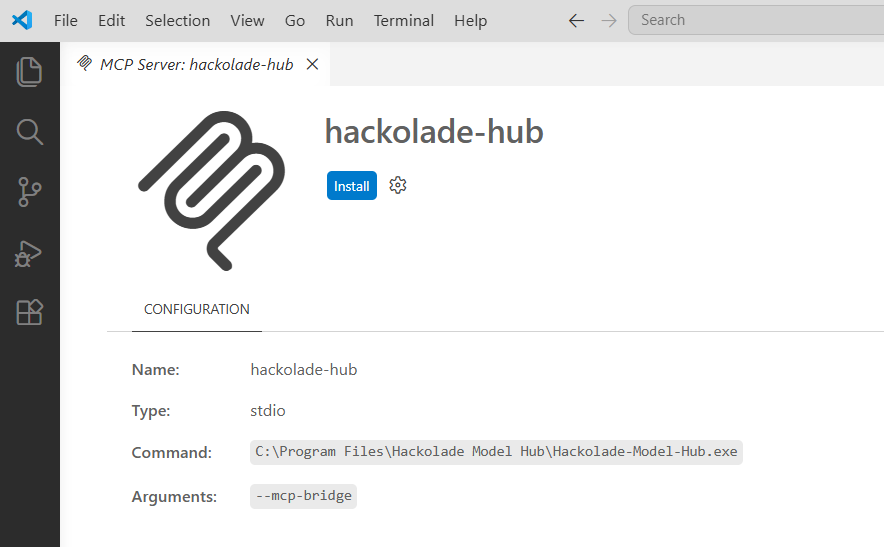
Once the MCP Server connection is installed, you can check that it is running by pressing Ctrl + Shift + P, then Run MCP: List Servers and make sure that the Hackolade-Hub server is running

If you don't already have a chat pane on the right press Ctrl + Alt + I
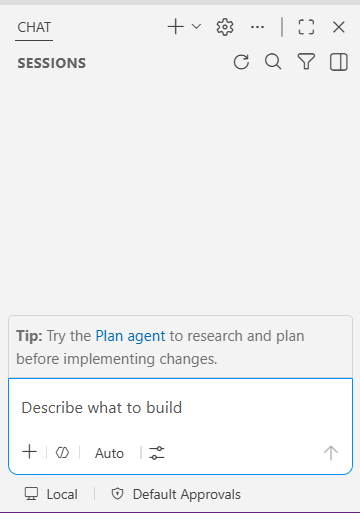
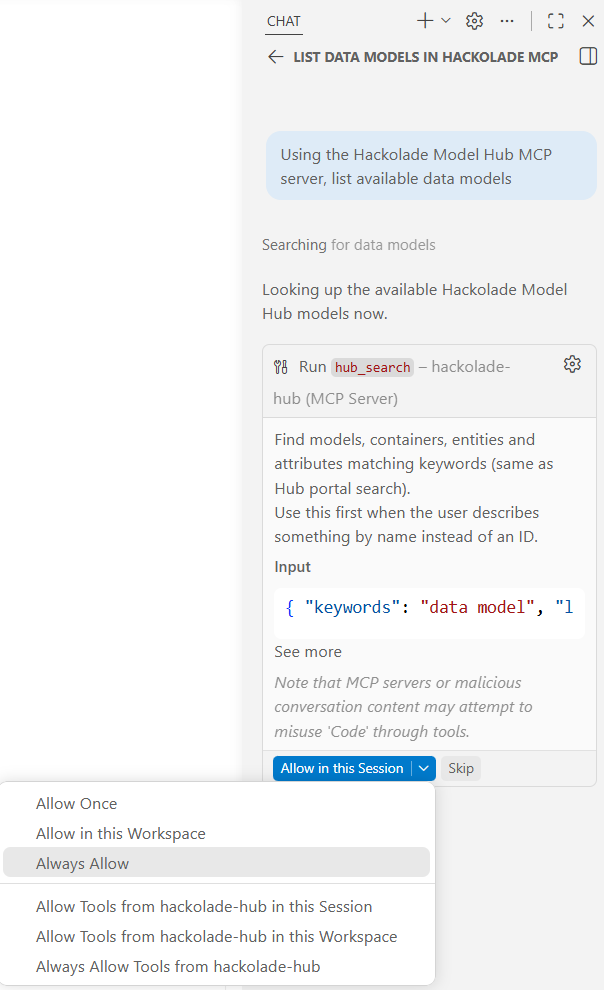
The first time you run a chat with the Model Hub MCP server, you will be asked for permission:
Microsoft 365 Copilot
To configure the MCP server to Copilot, you need to be able to create agents in Copilot Studio.
Follow these steps to complete the configuration of the MCP server
-
Open on the Agents menu, then click on Create blank agent
-
Give the agent a name like Hackolade Model Hub agent
-
Go to tools, then click on + Add a tool
-
In the modal that opens, select Add new MCP
-
Fill the form
- Server name: hackolade-model-hub
- Server description: Use the MCP tools provided by the Hackolade model HUB application
- Server URL: https://\<model-hub-domain-name>/api/v1/mcp
- Authentication: Select OAuth 2.0 then Dynamic discovery as a type
- Click on Create
The form should look like the following
Discuss with your Model Hub
You are now ready to have a conversation with your library of models.
Here are some examples to inspire you. Possibilities are endles...
Using the Hackolade Model Hub MCP server, list available models
Give me an explanatory overview in words of model xyz
Build a SQL query to list customers and thei contact info
etc.